In this guest post, Shelly and her kids try some creative ways to practise symmetry using the Christmas symmetry pages available from Activity Village.
Ideas for Using Christmas Symmetry Pages
By Shelly
I love using symmetry pages, especially the ones with the grids included as I like the idea of the kids getting used to using grids while they are younger so that when they start dealing with graphs, coordinates and maps the format is already something that they are familiar with.
* * *
We used these pages in this activity:
There are more Christmas symmetry worksheets here.
* * *
Over the weekend the kids (and a few friends) used the symmetry pages in some slightly different ways. I discovered that they work really well with younger kids and some play dough! It was a total spur of the moment idea but it worked so well. We placed a few pages inside some write and wipe pockets (you could also laminate the pages or use some plastic A4 sleeves) and let the younger ones have a go.
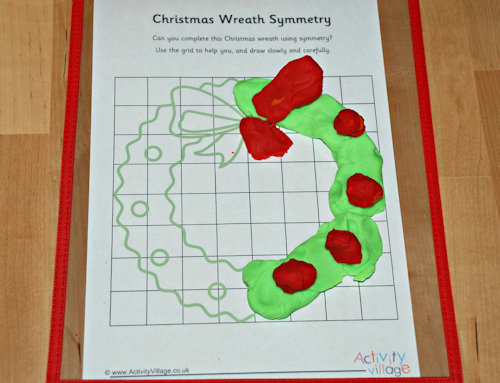
Christmas symmetry page completed with playdough
I was really impressed, and wished we had tried this earlier. The kids did a combination of completing the entire picture with play dough and also just completing the missing half with playdough.
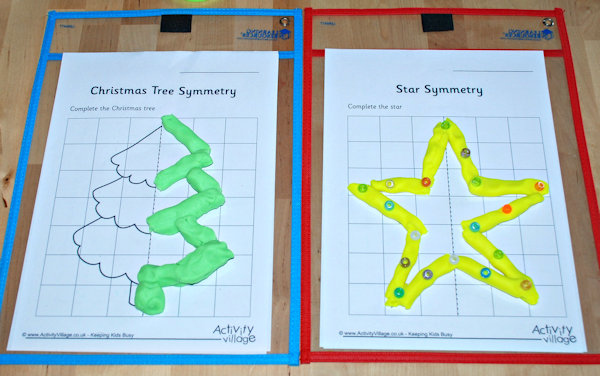
More Christmas symmetry pages completed with playdough
In the star picture above a few crafting buttons were also added just for fun!
The playdough idea spurred my daughter onto trying one of the pages with some tissue paper and crafting gems.
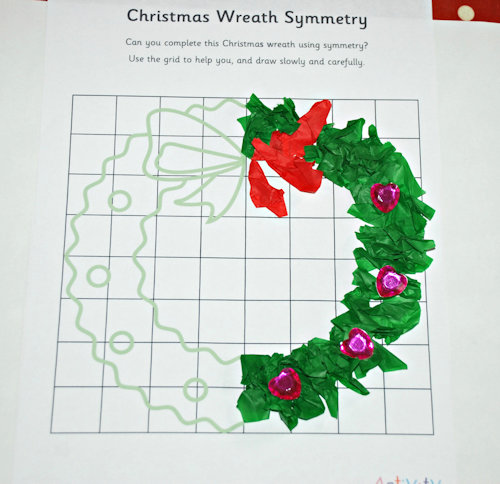
Christmas symmetry page completed using tissue paper and craft gems
I really liked this and would never have thought of using tissue paper with the symmetry pages but I definitely think we are going to try some more again. The advantage of using the symmetry pages as a starting point with both the play dough and the tissue paper is that the kids already have a basic shape which they can build on so they are not just staring at a blank piece of paper and having to create a shape or idea from scratch. I have found with my daughter that she works a lot better with art and crafts if she has a starting point and not a blank page.
My son decided it was time he tried a few but he was not interested in the tissue paper idea so I suggested we do some symmetry painting with the pages. We folded each page along the middle line of the symmetry picture and then he painted/ squeezed his paint over the existing first half of the picture.
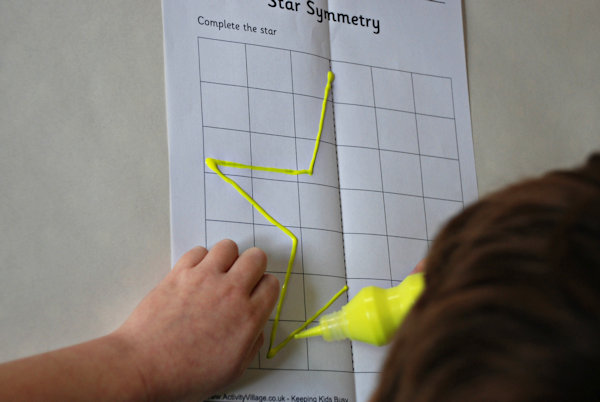
Using symmetry pages for symmetry painting
And then we folded the page over and pressed down so that the paint went onto the other half. My son just stuck with painting over the outlines but you could paint the inside as well.
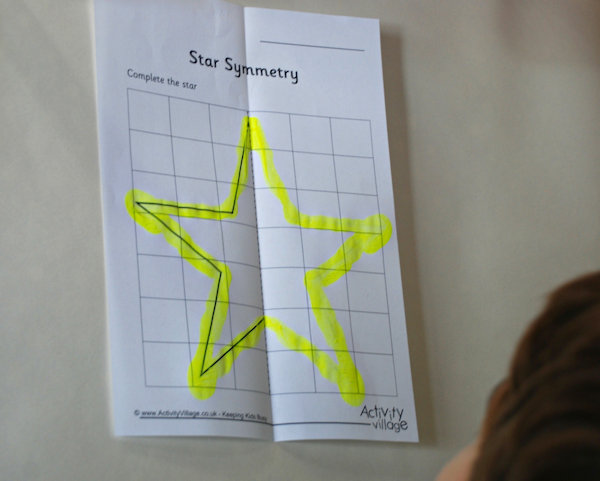
The finished symmetry painting - a great result!
He loved this idea and moved onto a Christmas tree.
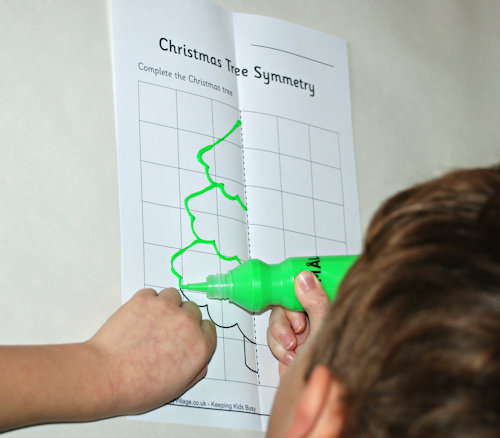
Outlining the symmetry Christmas tree page
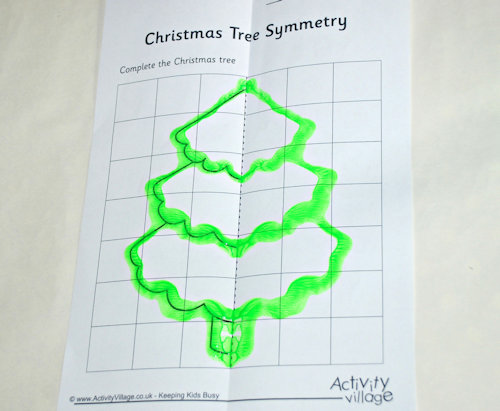
The finished picture
Once he had his Christmas tree outline he decided that he wanted to decorate the tree as well.
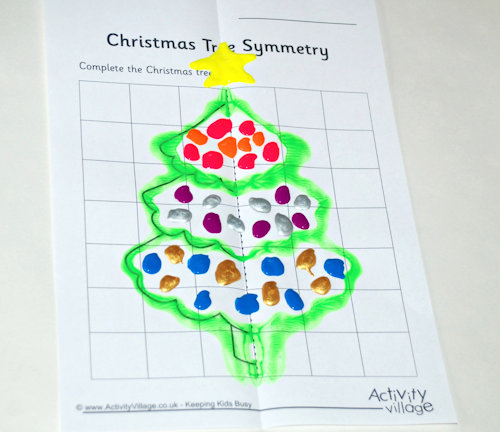
His decorated Christmas tree
My oldest also liked the idea of the Christmas tree but she opted to draw the second half herself - proof that we do sometimes use the symmetry pages for what they were designed for!

Christmas tree symmetry page
And then she outlined the tree in paint and added her own decorations.
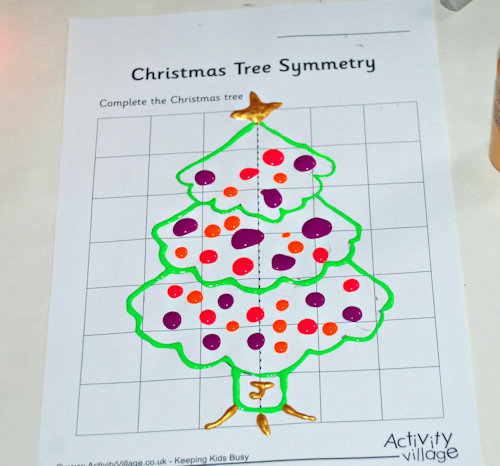
Her finished Christmas tree symmetry picture
This is a guest post from Shelly. Shelly is a home educating parent of two children aged 8 and 10. She blogs at ofamily learning together where she shares ideas on the different learning activities that they do including lots of hand-on maths, arts and crafts and anything else that is part of their home educating lifestyle.
You can find more guest posts by Shelly, and a list of all our guest posts, here.
